So uh a few years (! time flies) back I wanted to get an ereader to… (e-read?) read books for cheap and not carry a suitcase of paperbacks whenever I traveled (plus a lot of other advantages. I like ebooks, they’re tiny, convenient and disposable. There are lots of books I prefer reading on paper, but I can’t deny ebooks are neat sometimes. Anyway).
I already had a Kindle Touch (I think that’s the 3rd version of the kindle? idk tho) but I wanted something both more recent and with a bigger screen, because I kinda enjoy being able to read PDFs and doing that on a Kindle is torture.
So I went looking for a reasonably sized ebook reader, of which there were (at the time) none. After much digging I finally found the PocketBook InkPad which is an 8” e-reader with backlight and physical buttons, which sounded exactly like what I wanted! So I ordered one and got it delivered a few days later.
Now this device works pretty well on its own. It’s a bit small to read full-size
PDFs but it’s still better than 6” readers are, and even tho it doesn’t have
access to a bundled ebook shop you can always load your own books (which is what
I intended to do anyway, hello Library Genesis). But
after a bit I wanted to try and do more with it, so I installed
koreader, which is an aftermarket ebook
reader app for kindle, kobo, etc, and supports this thing. The installation is
really easy, it’s a matter of dropping the code into an applications folder
(there are a few system libraries to install too and that’s done the same way:
drop the code into the root of the usb mount).
So then I spent a few months reading books on this (I recommend The Unix Haters Handbook, which, while I largely don’t agree with much that’s on it and it’s pretty outdated, is really entertaining), and before I knew it I found myself disassembling it, and owning the embedded OS running on it. Here’s how that went (with recent pictures, since I opened it up again to write this!)
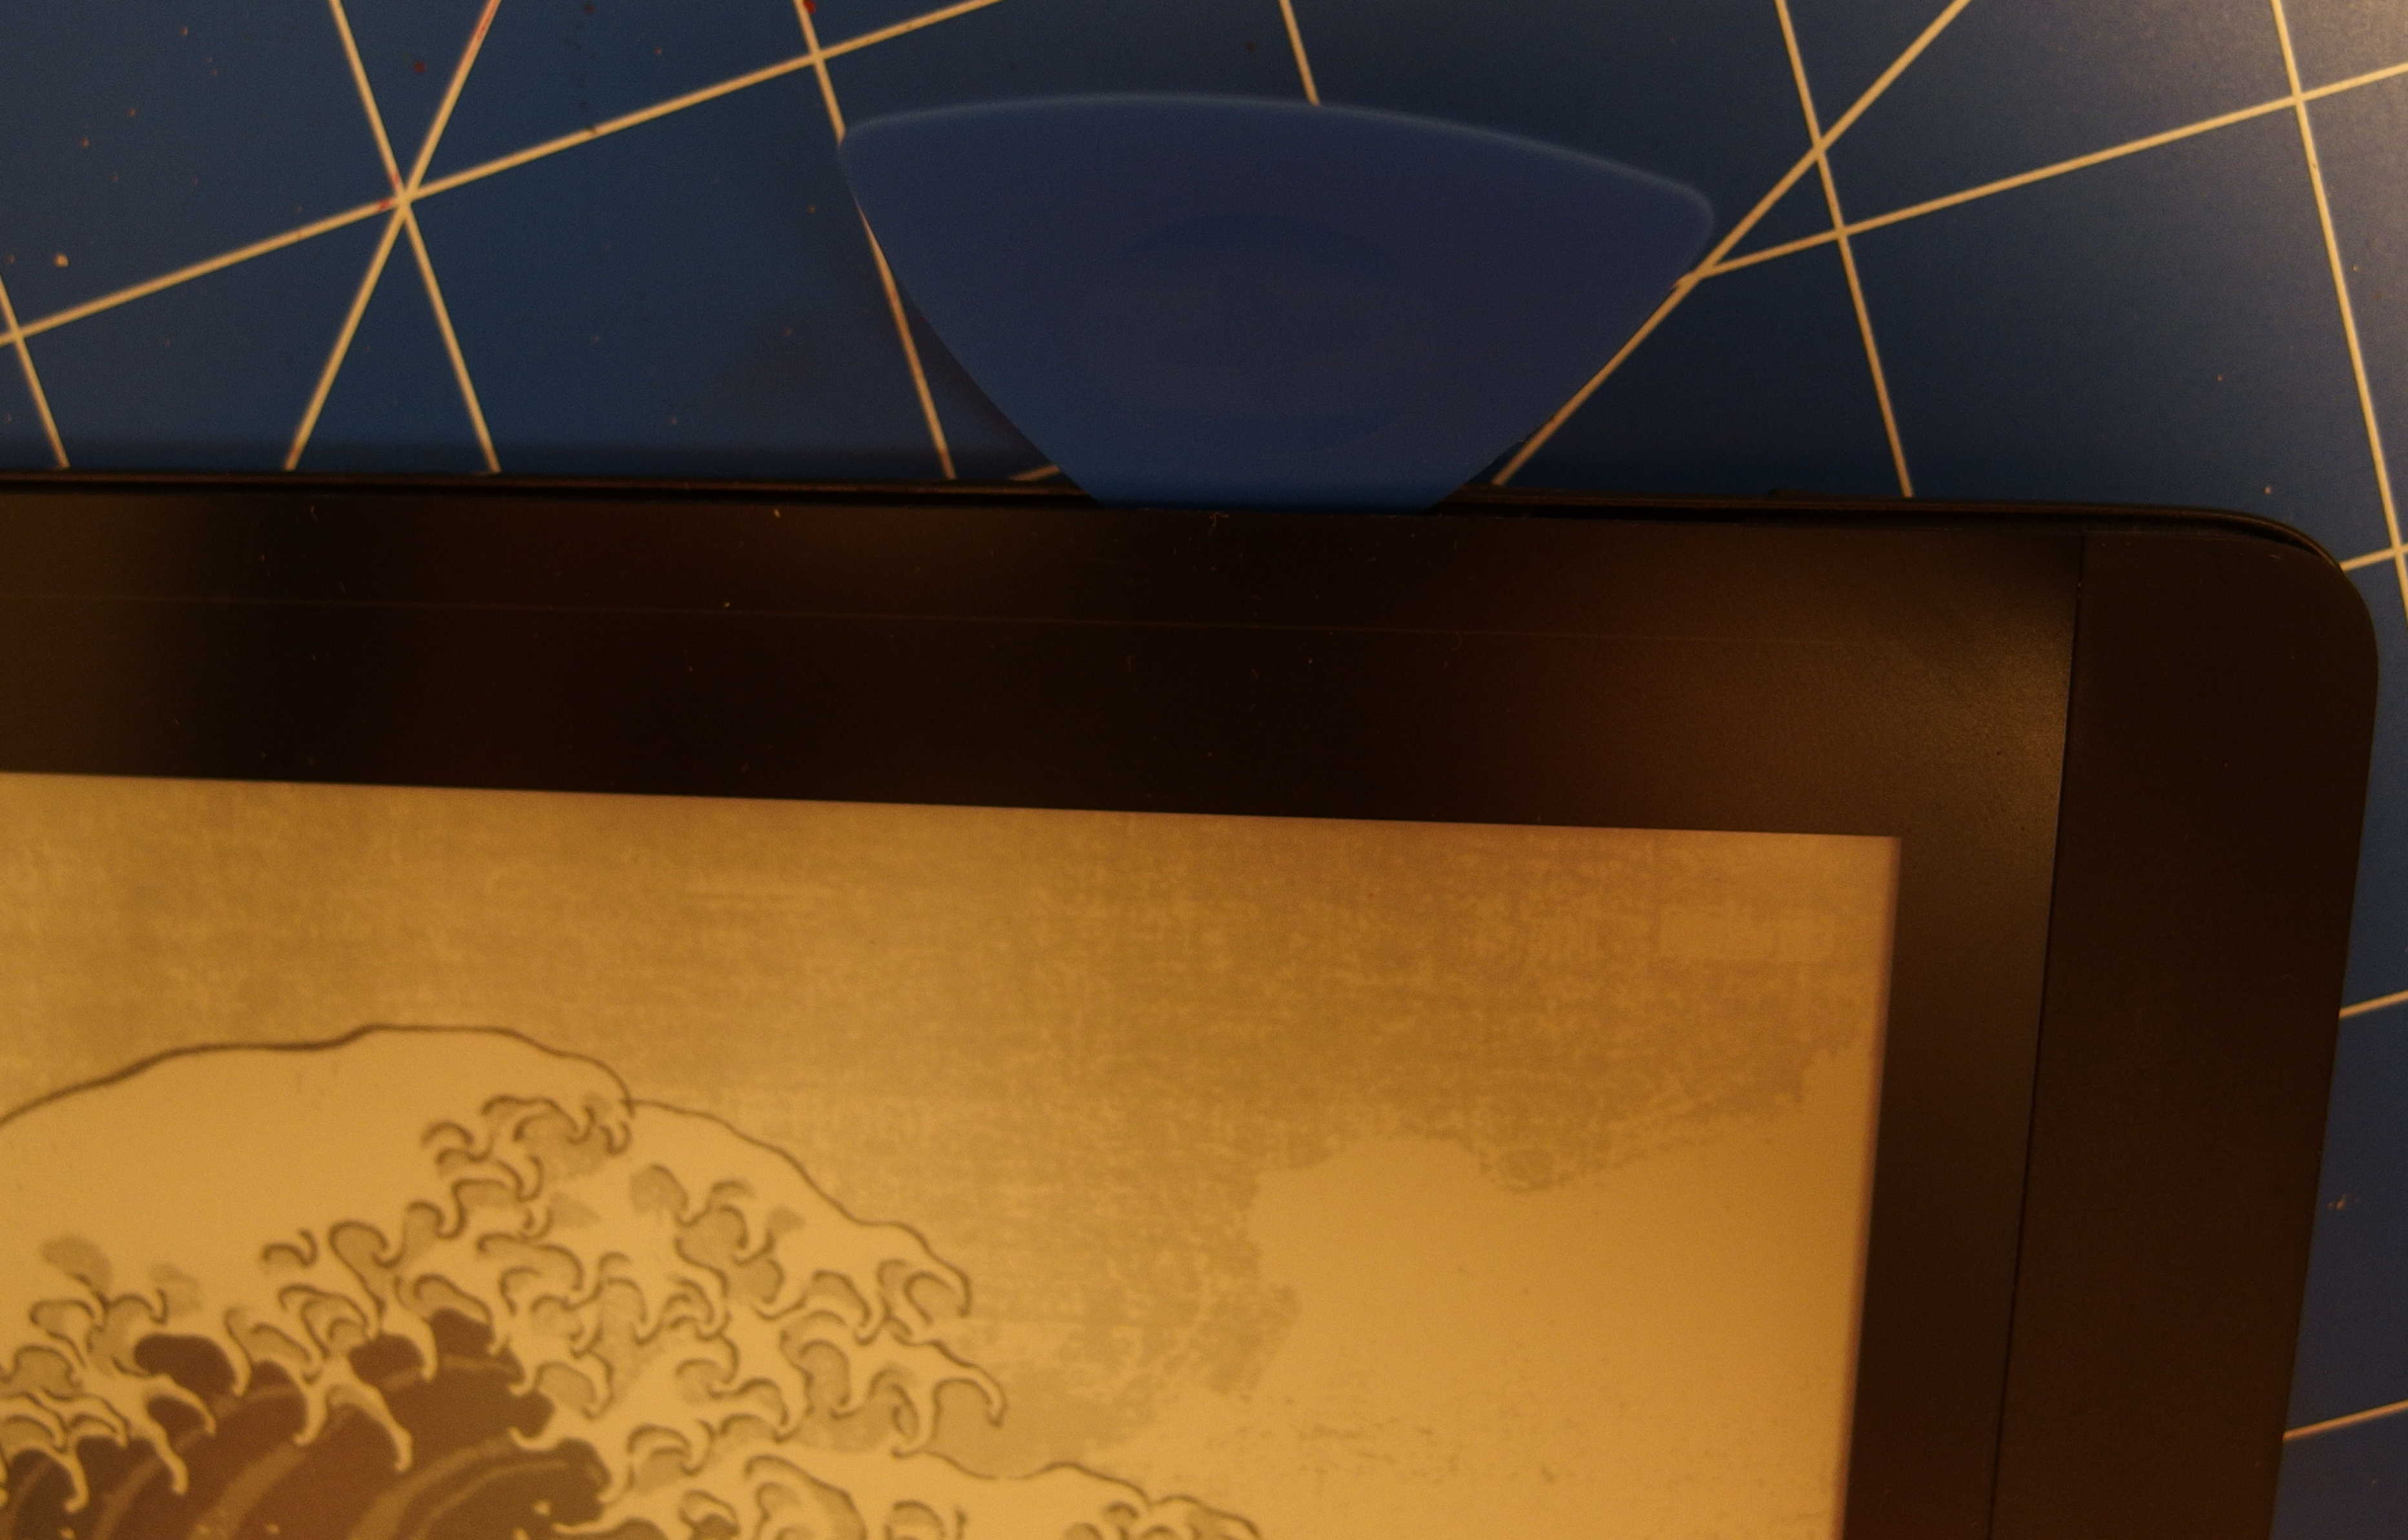
So first of all, here’s how it looks, before I get my hands on it. Pretty plain, no screws, no visible point of entry.

The right way (there is never only one way to open a device. In fact, there is always a very large number of ways to open a device, but most often there’s only a few ways to open it up while being able to get it working again afterwards) to open this thing is to unclip the front (display plus button area) from the back. No glue! Yay! It’s just a bunch of clips, pretty stiff too, so keep going at them and after a while they’ll unclip
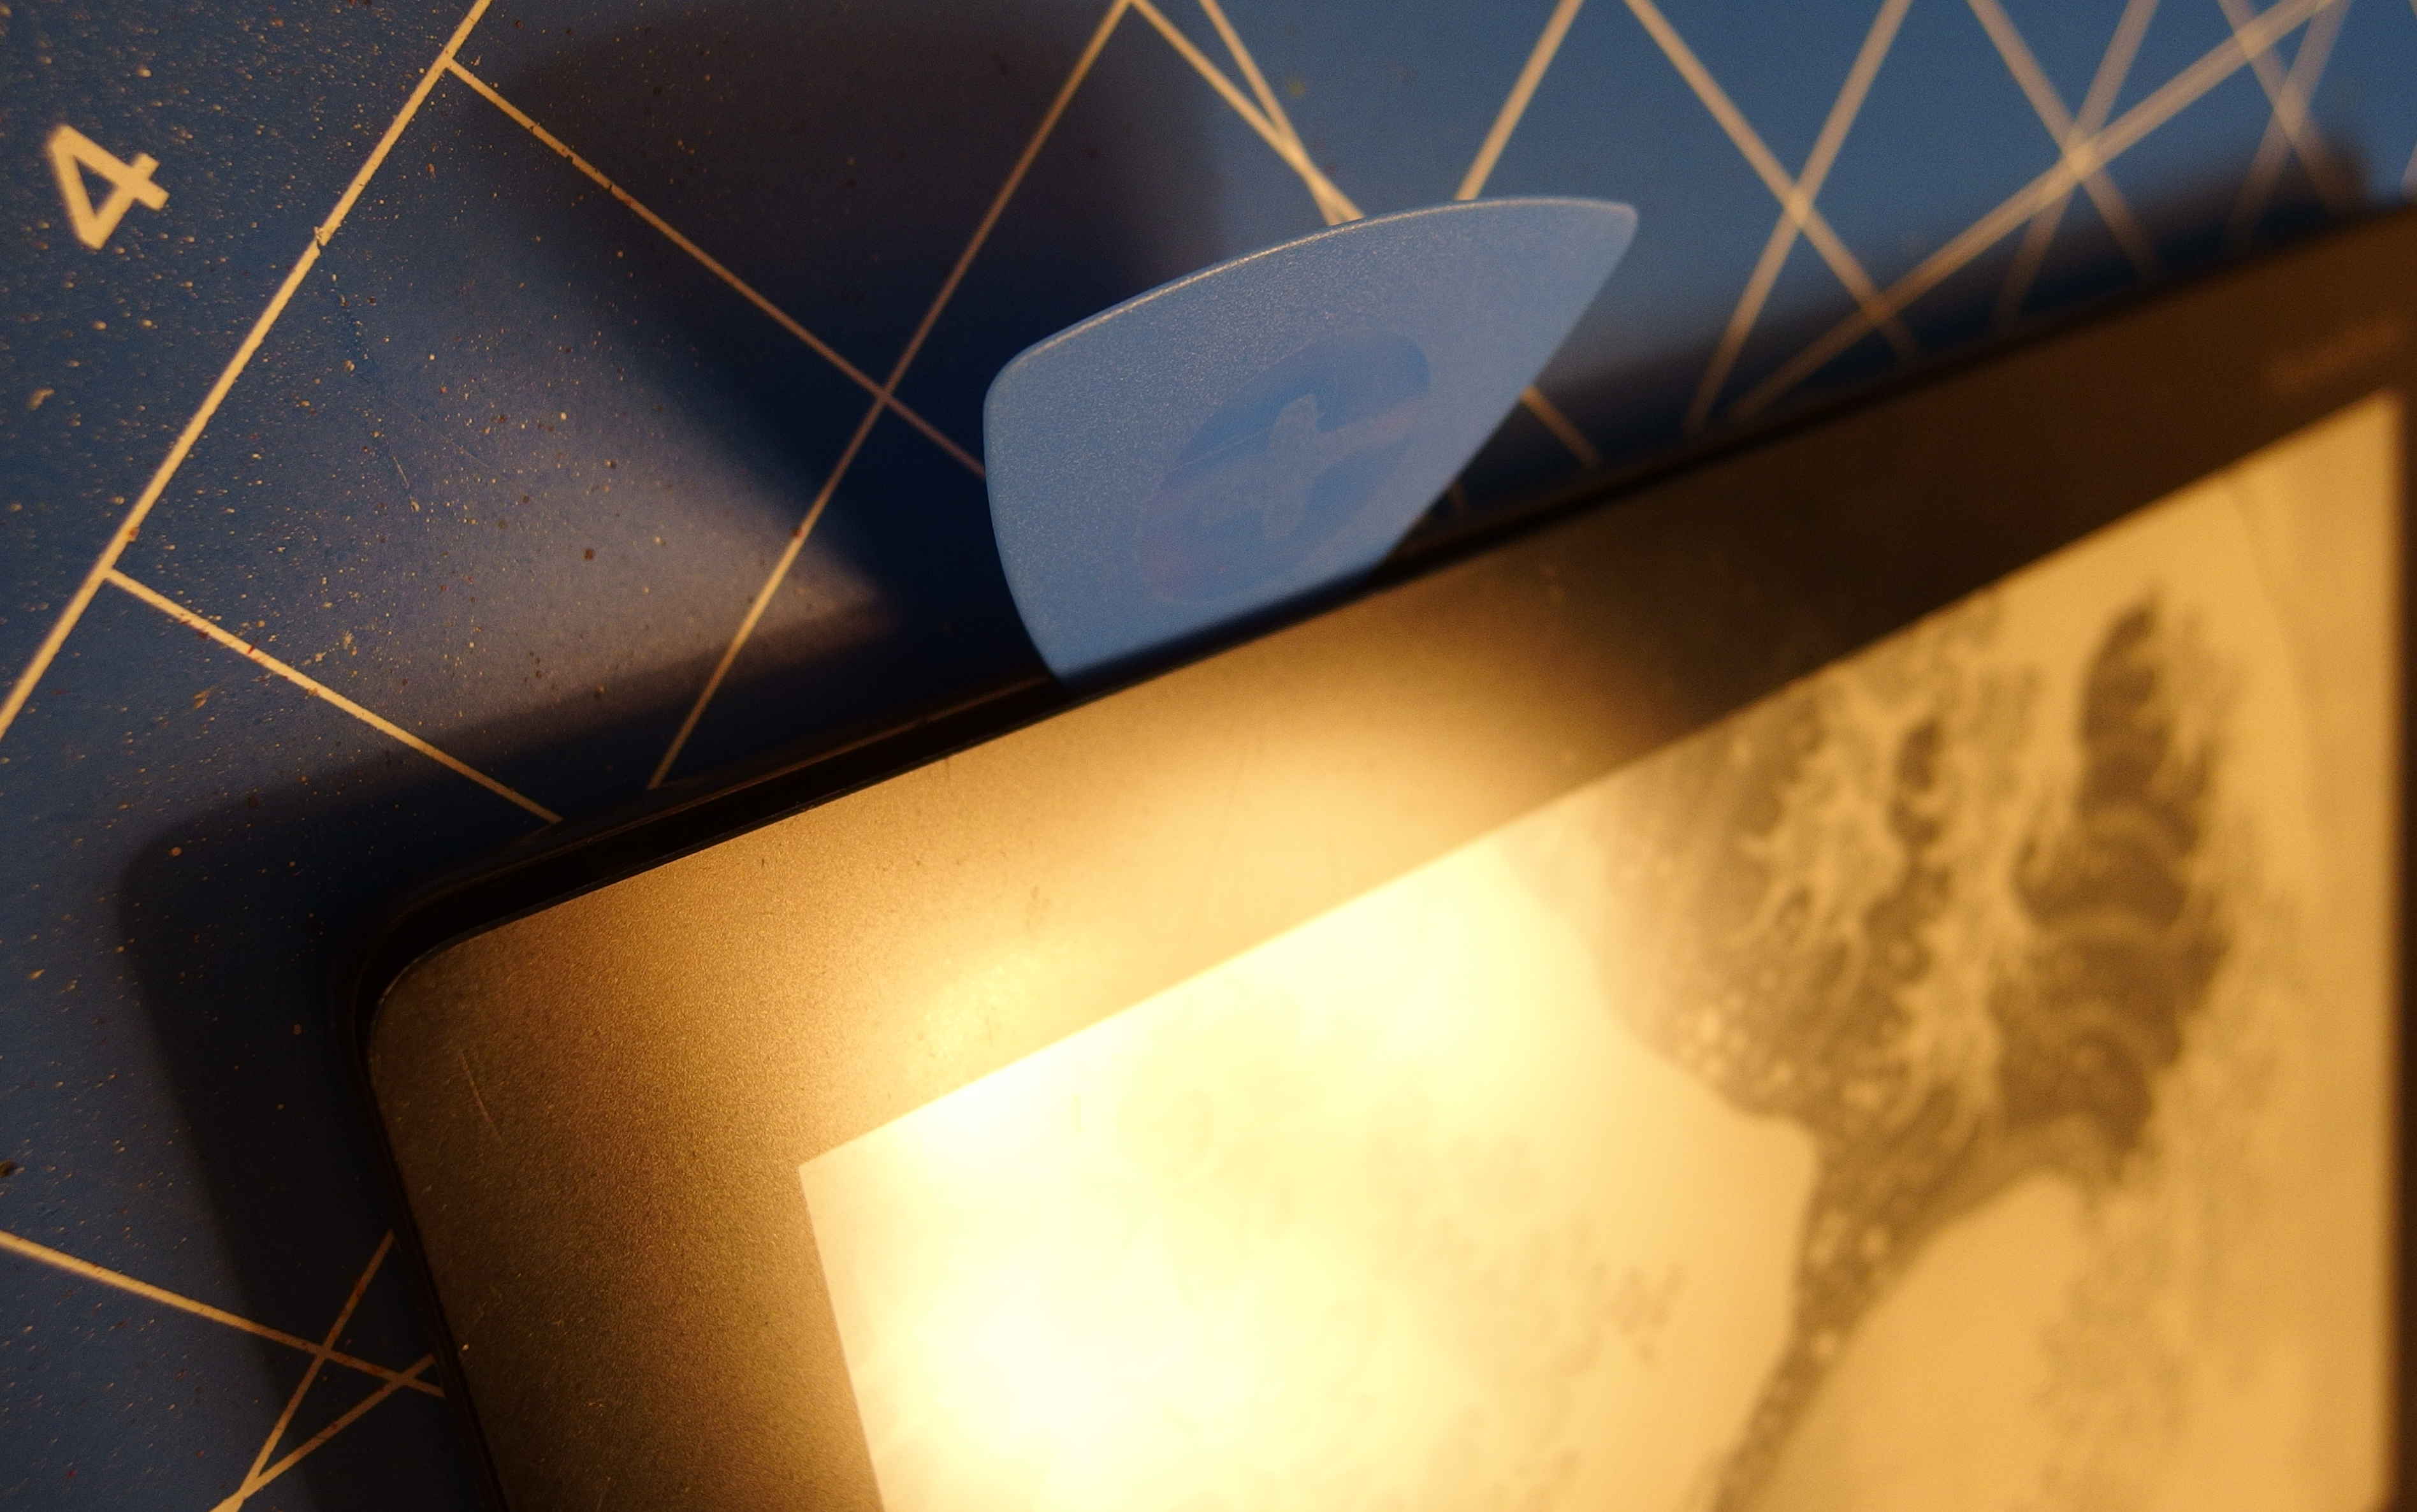
After that, just pull the front and the back apart and it’s open. Easy! I’m not going to elaborate further into the disassembly because from then on there’s glue everywhere and since I do use that ereader I don’t want it to be FUBAR.
Anyway, here are a few shots of the open device:
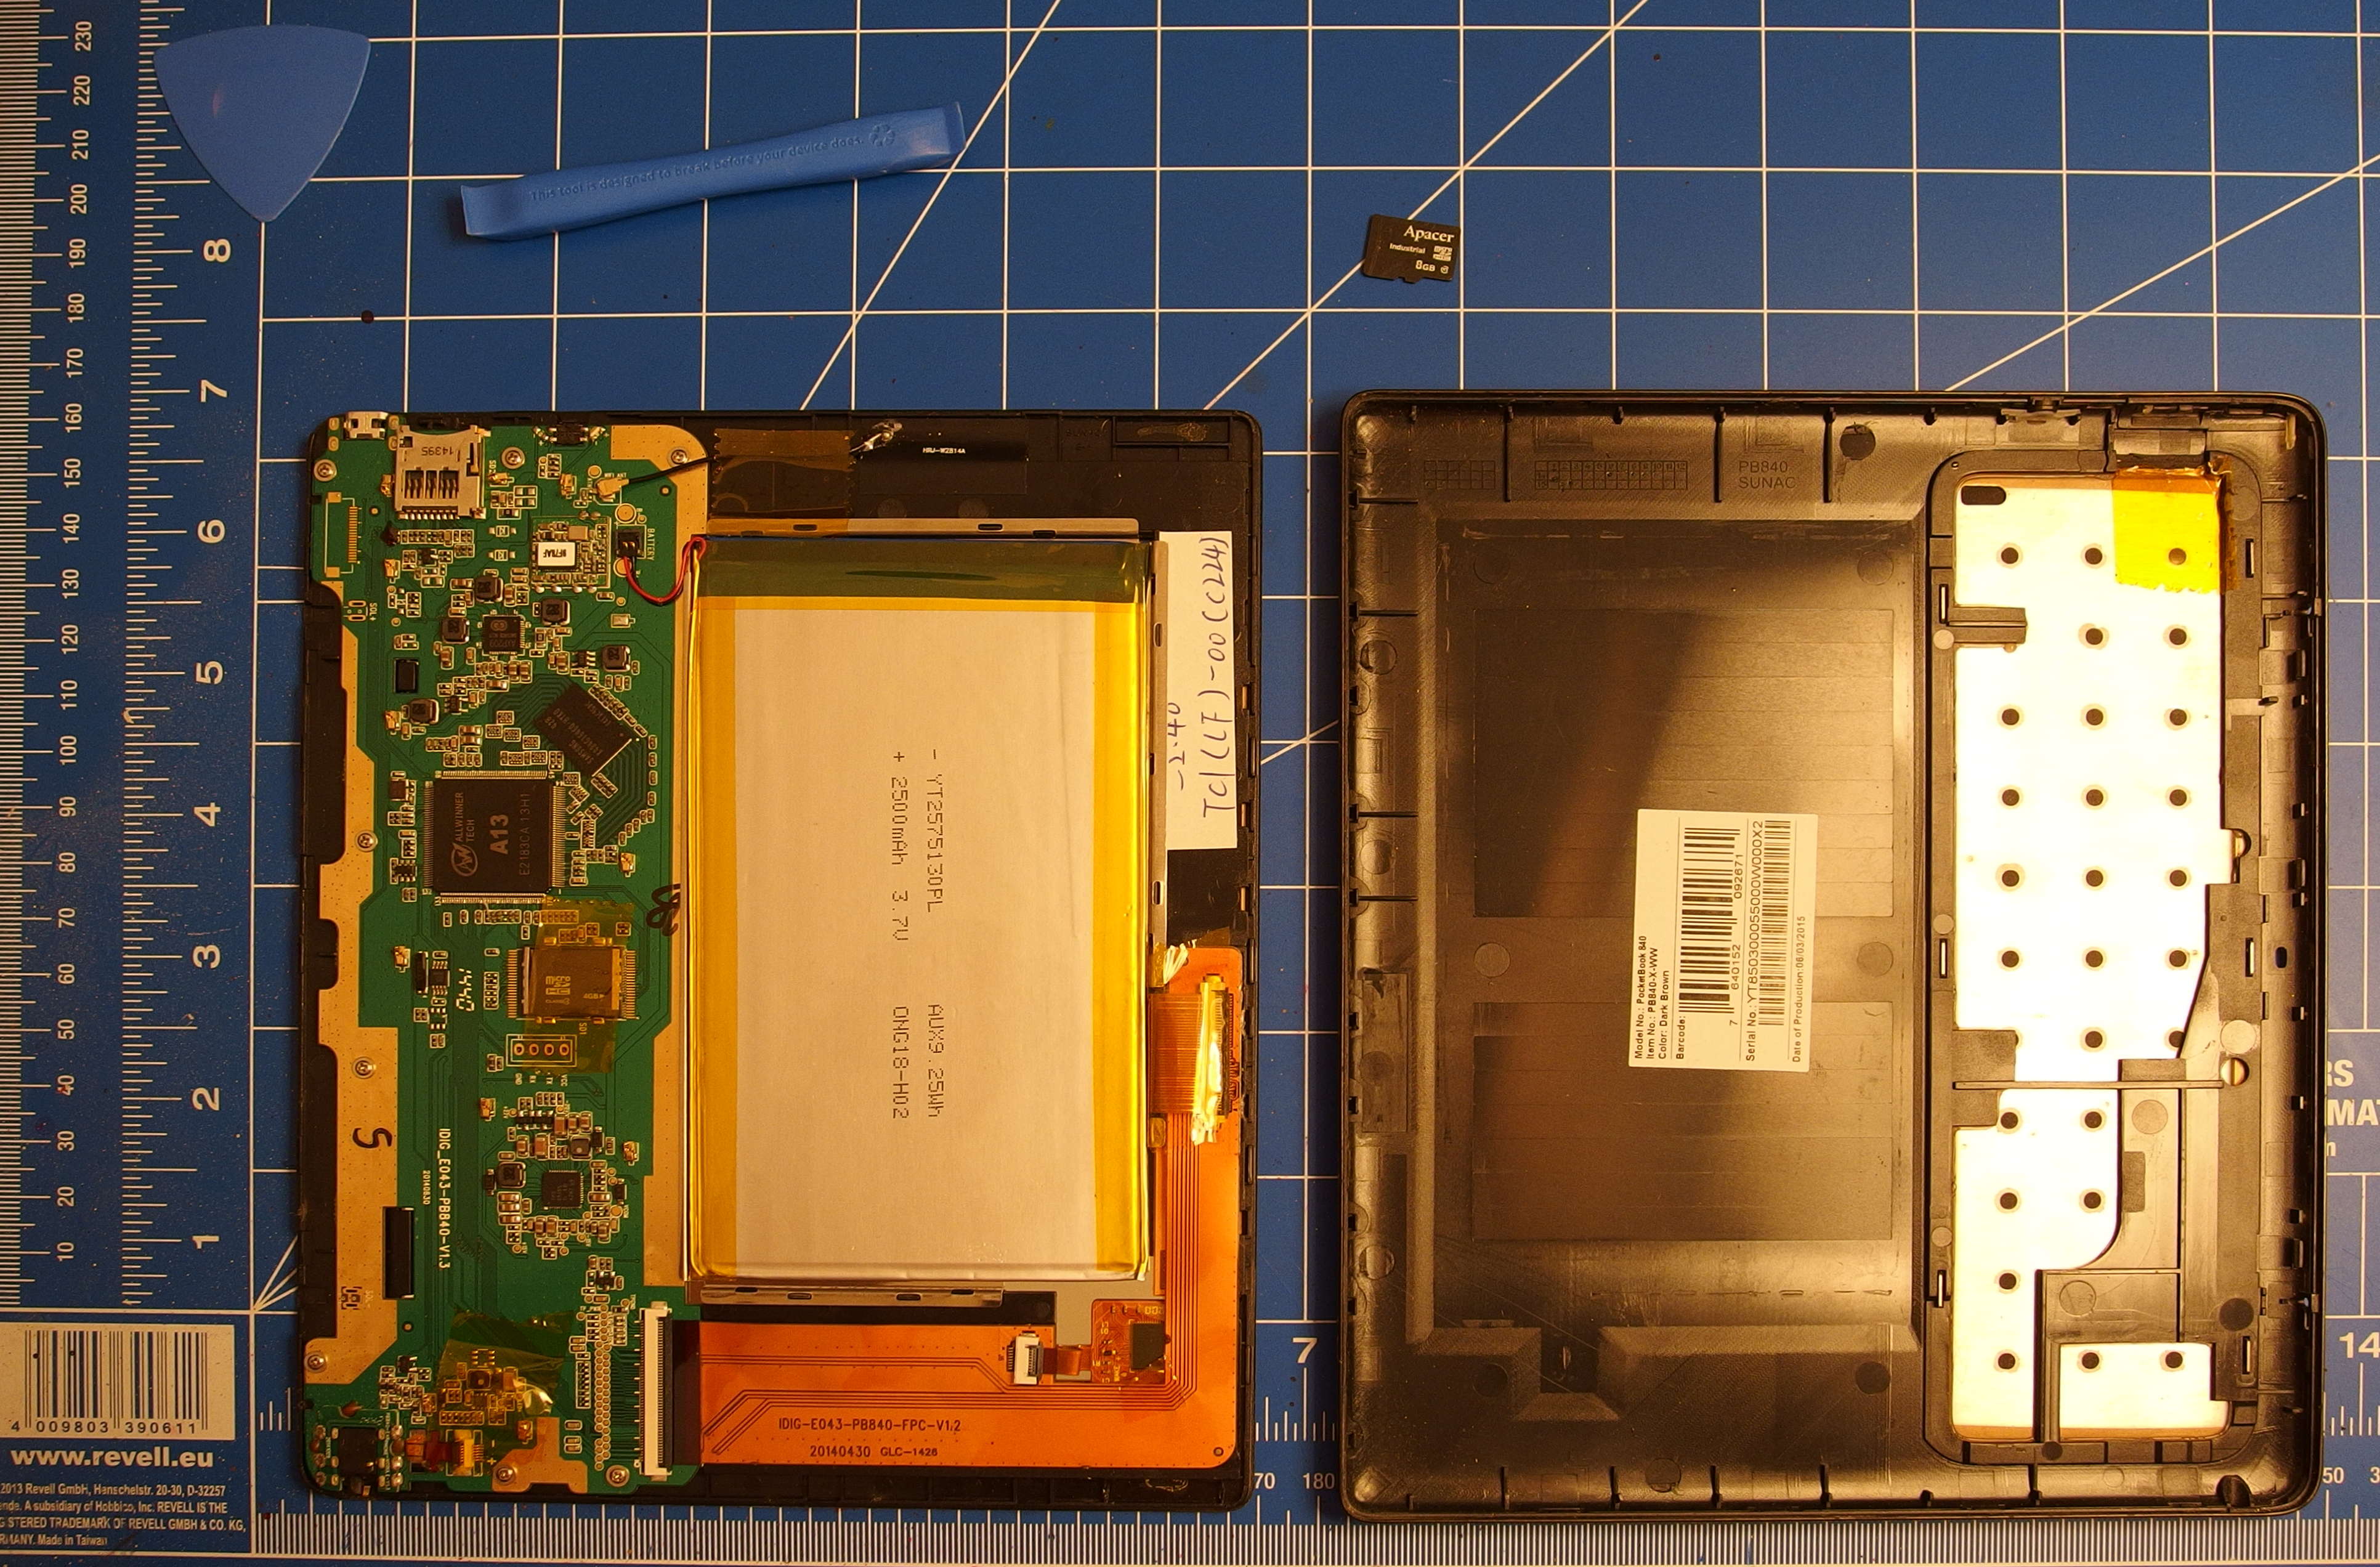
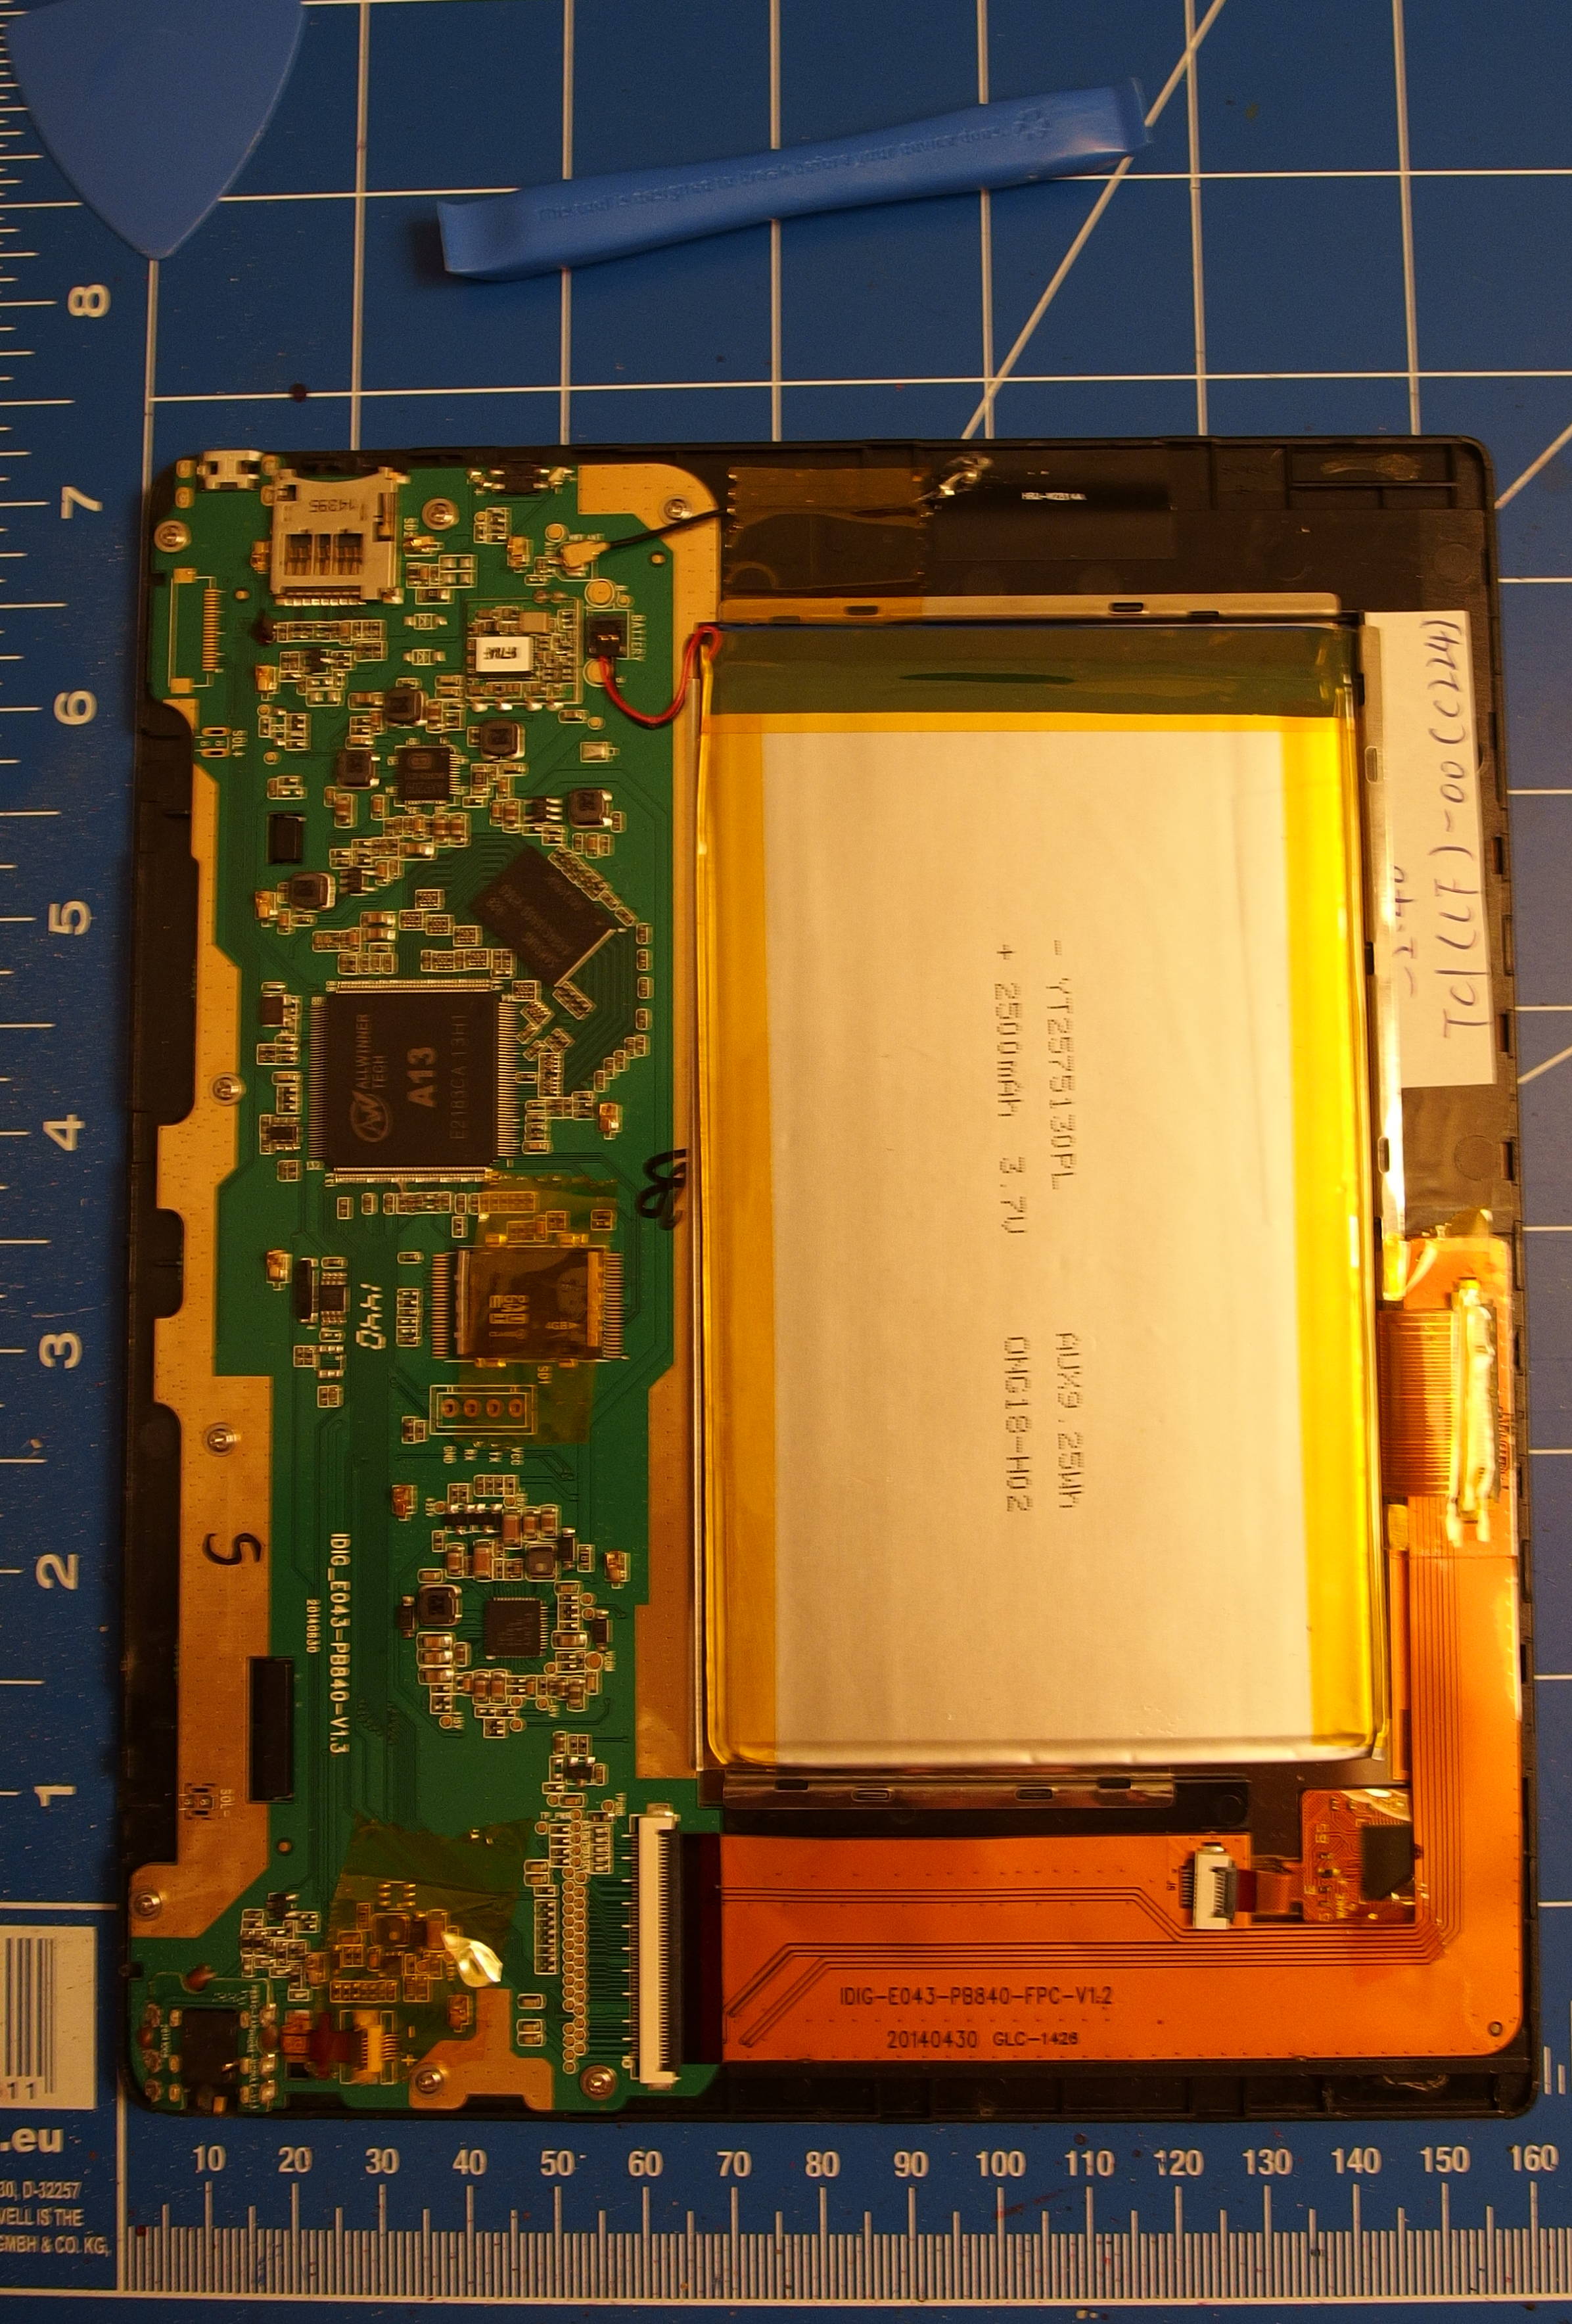
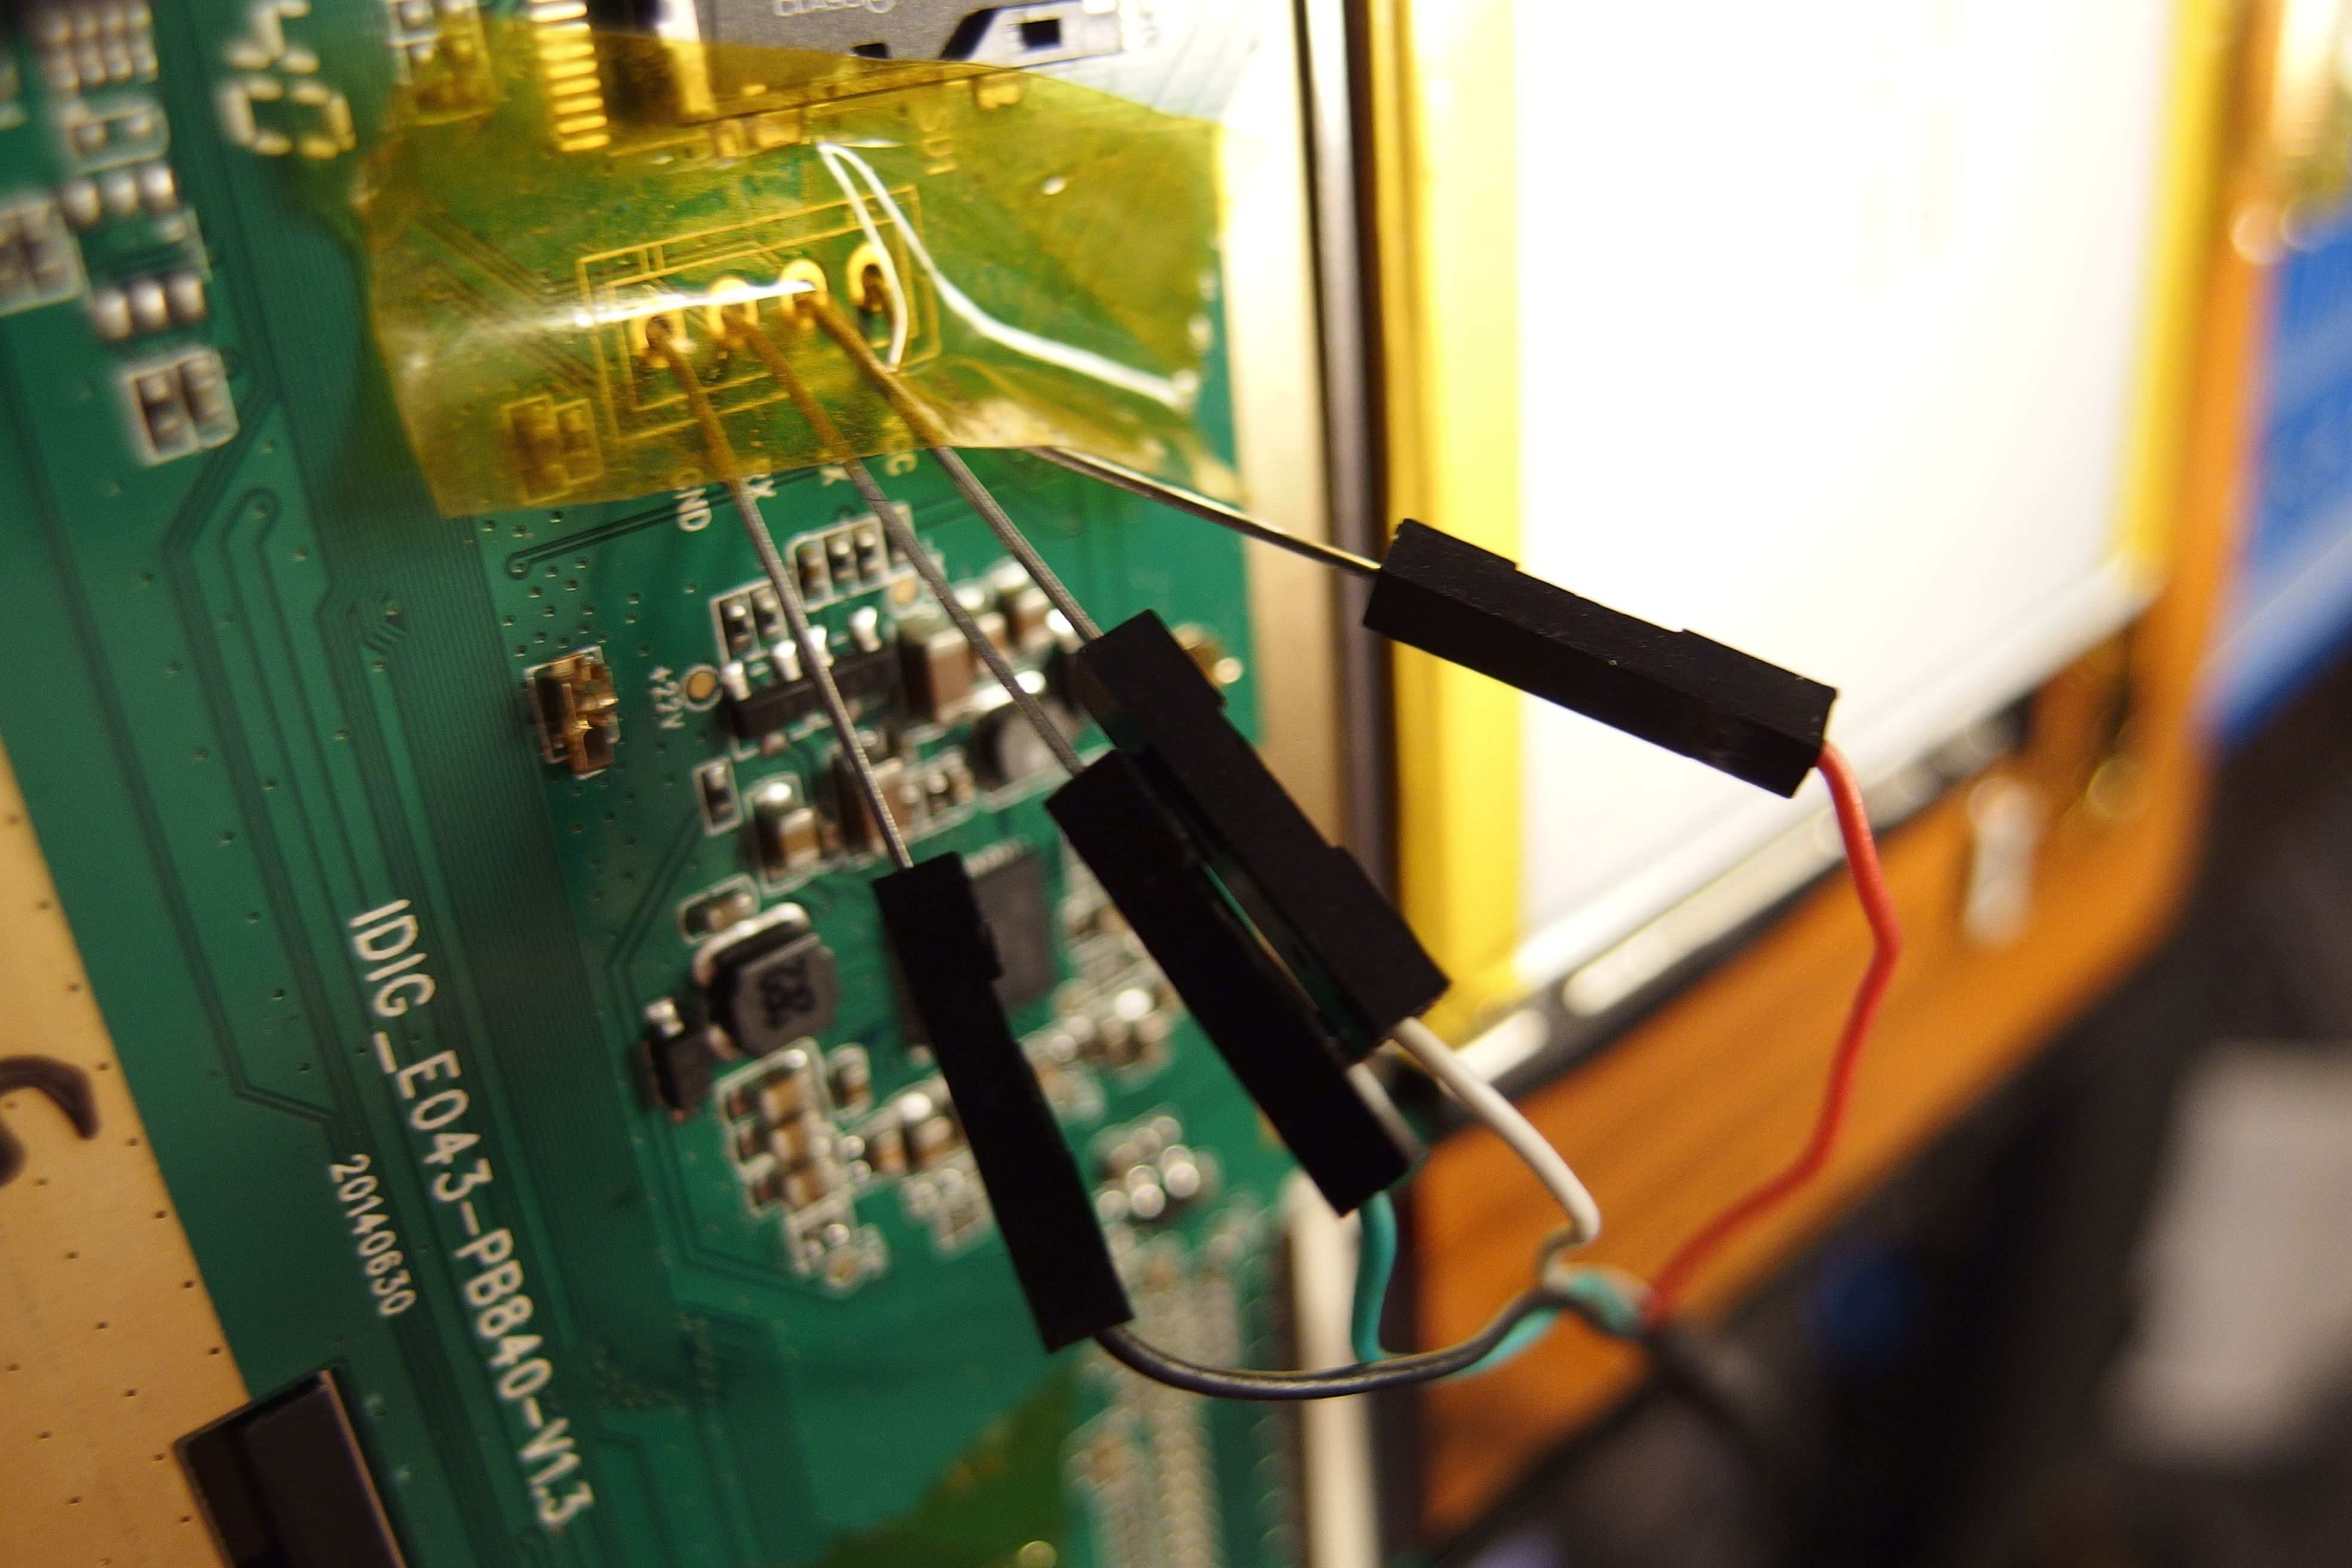
and a few closeups. My favorite thing about this device is that it’s advertised as 4 Gigs of flash storage and… well, it does contain 4Gigs of flash, but not really how other manufacturers do it
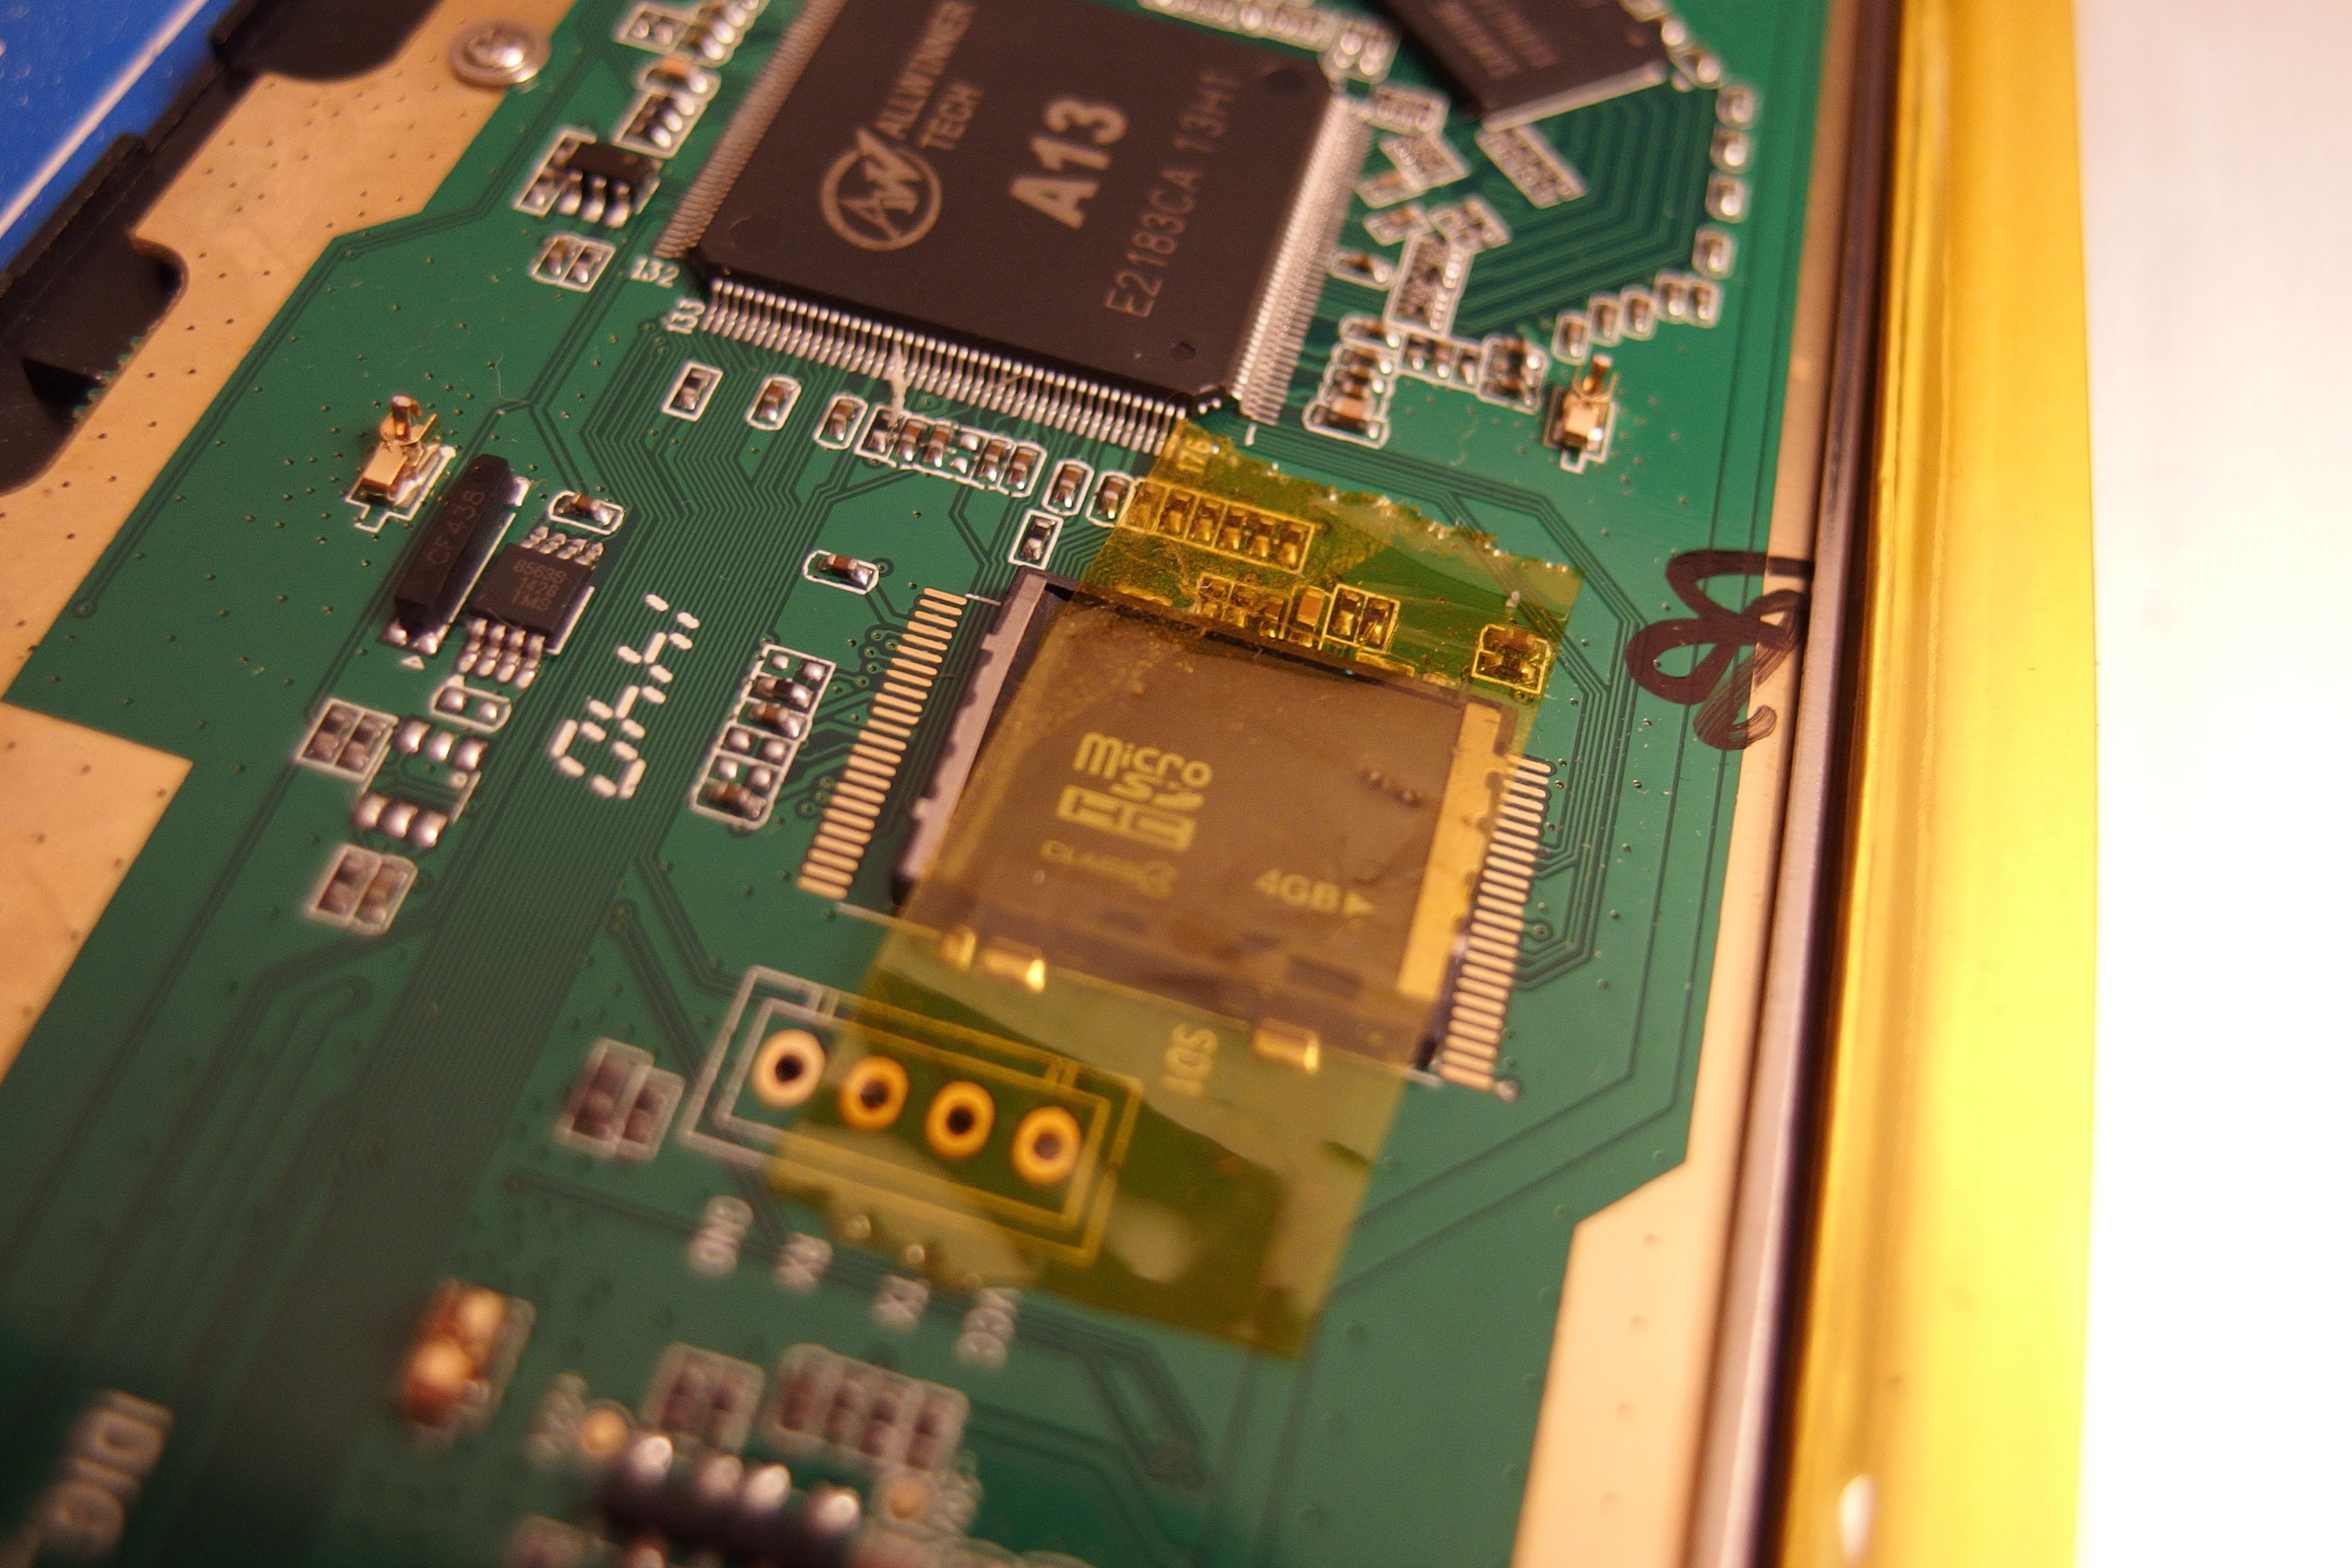
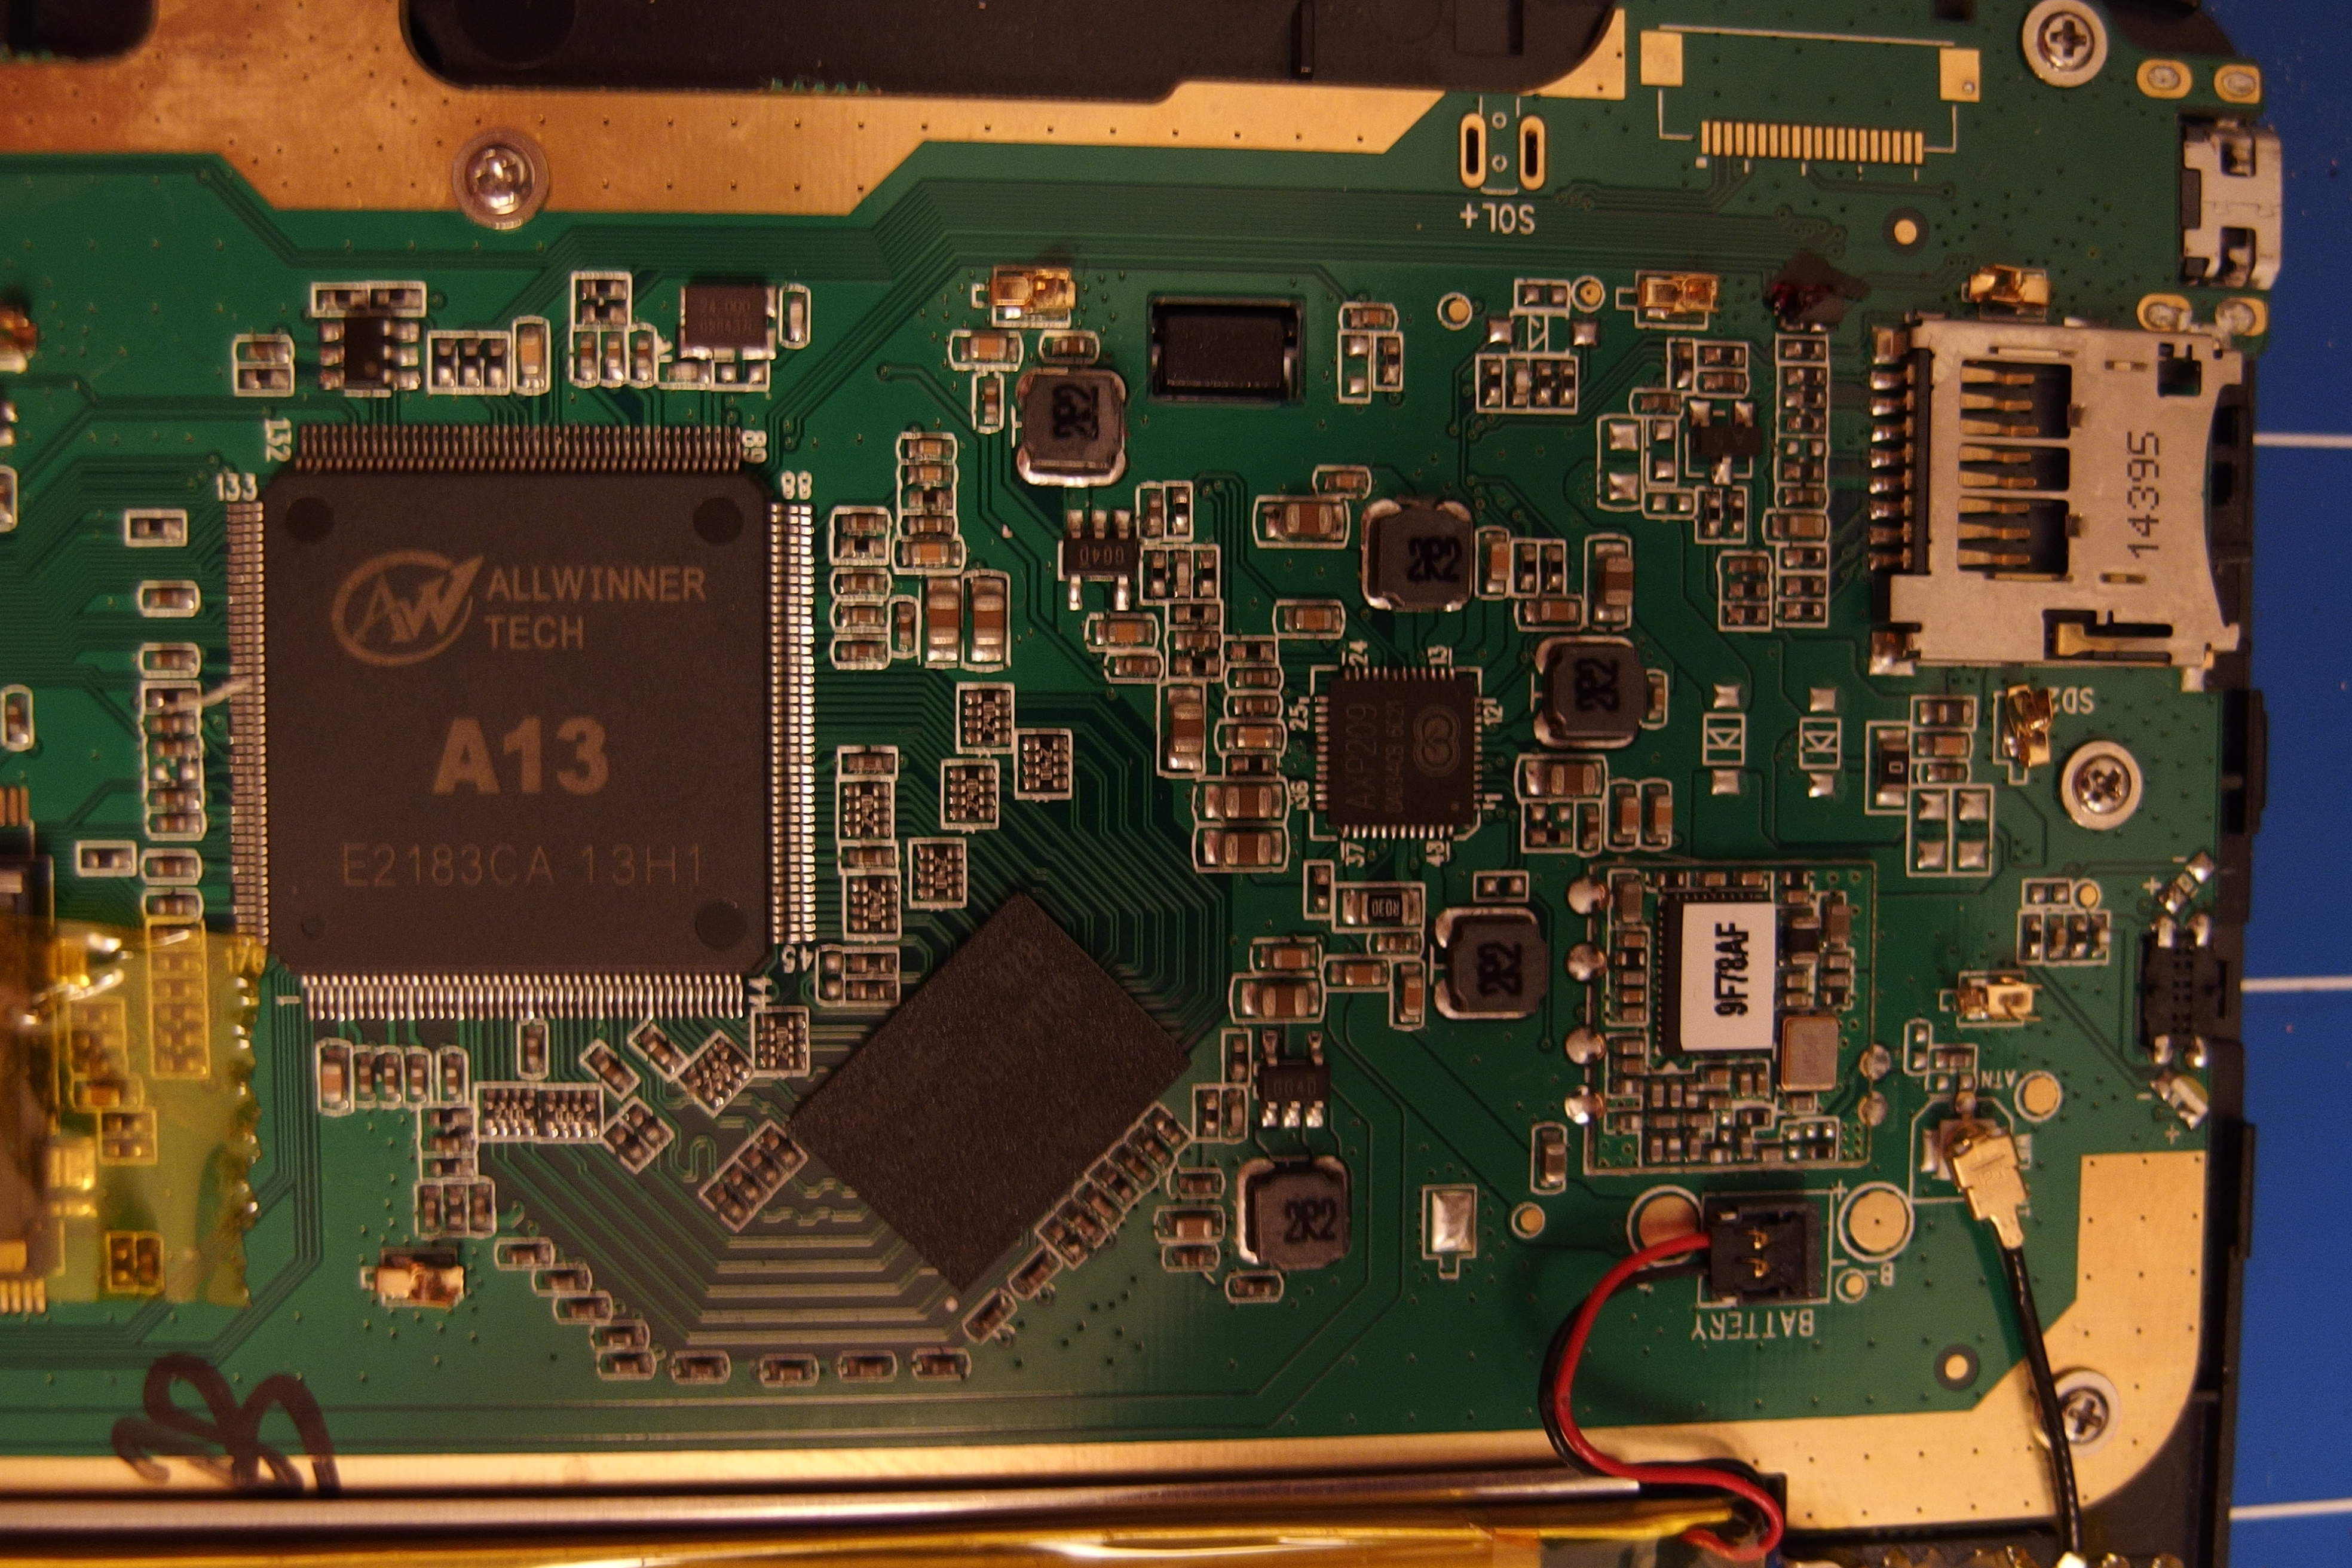
Here are a few closeups of the mobo. It looks pretty good, considering. It could probably be 50% smaller but since the device itself is so large and the battery consumption of eInk screens is so low, why bother?
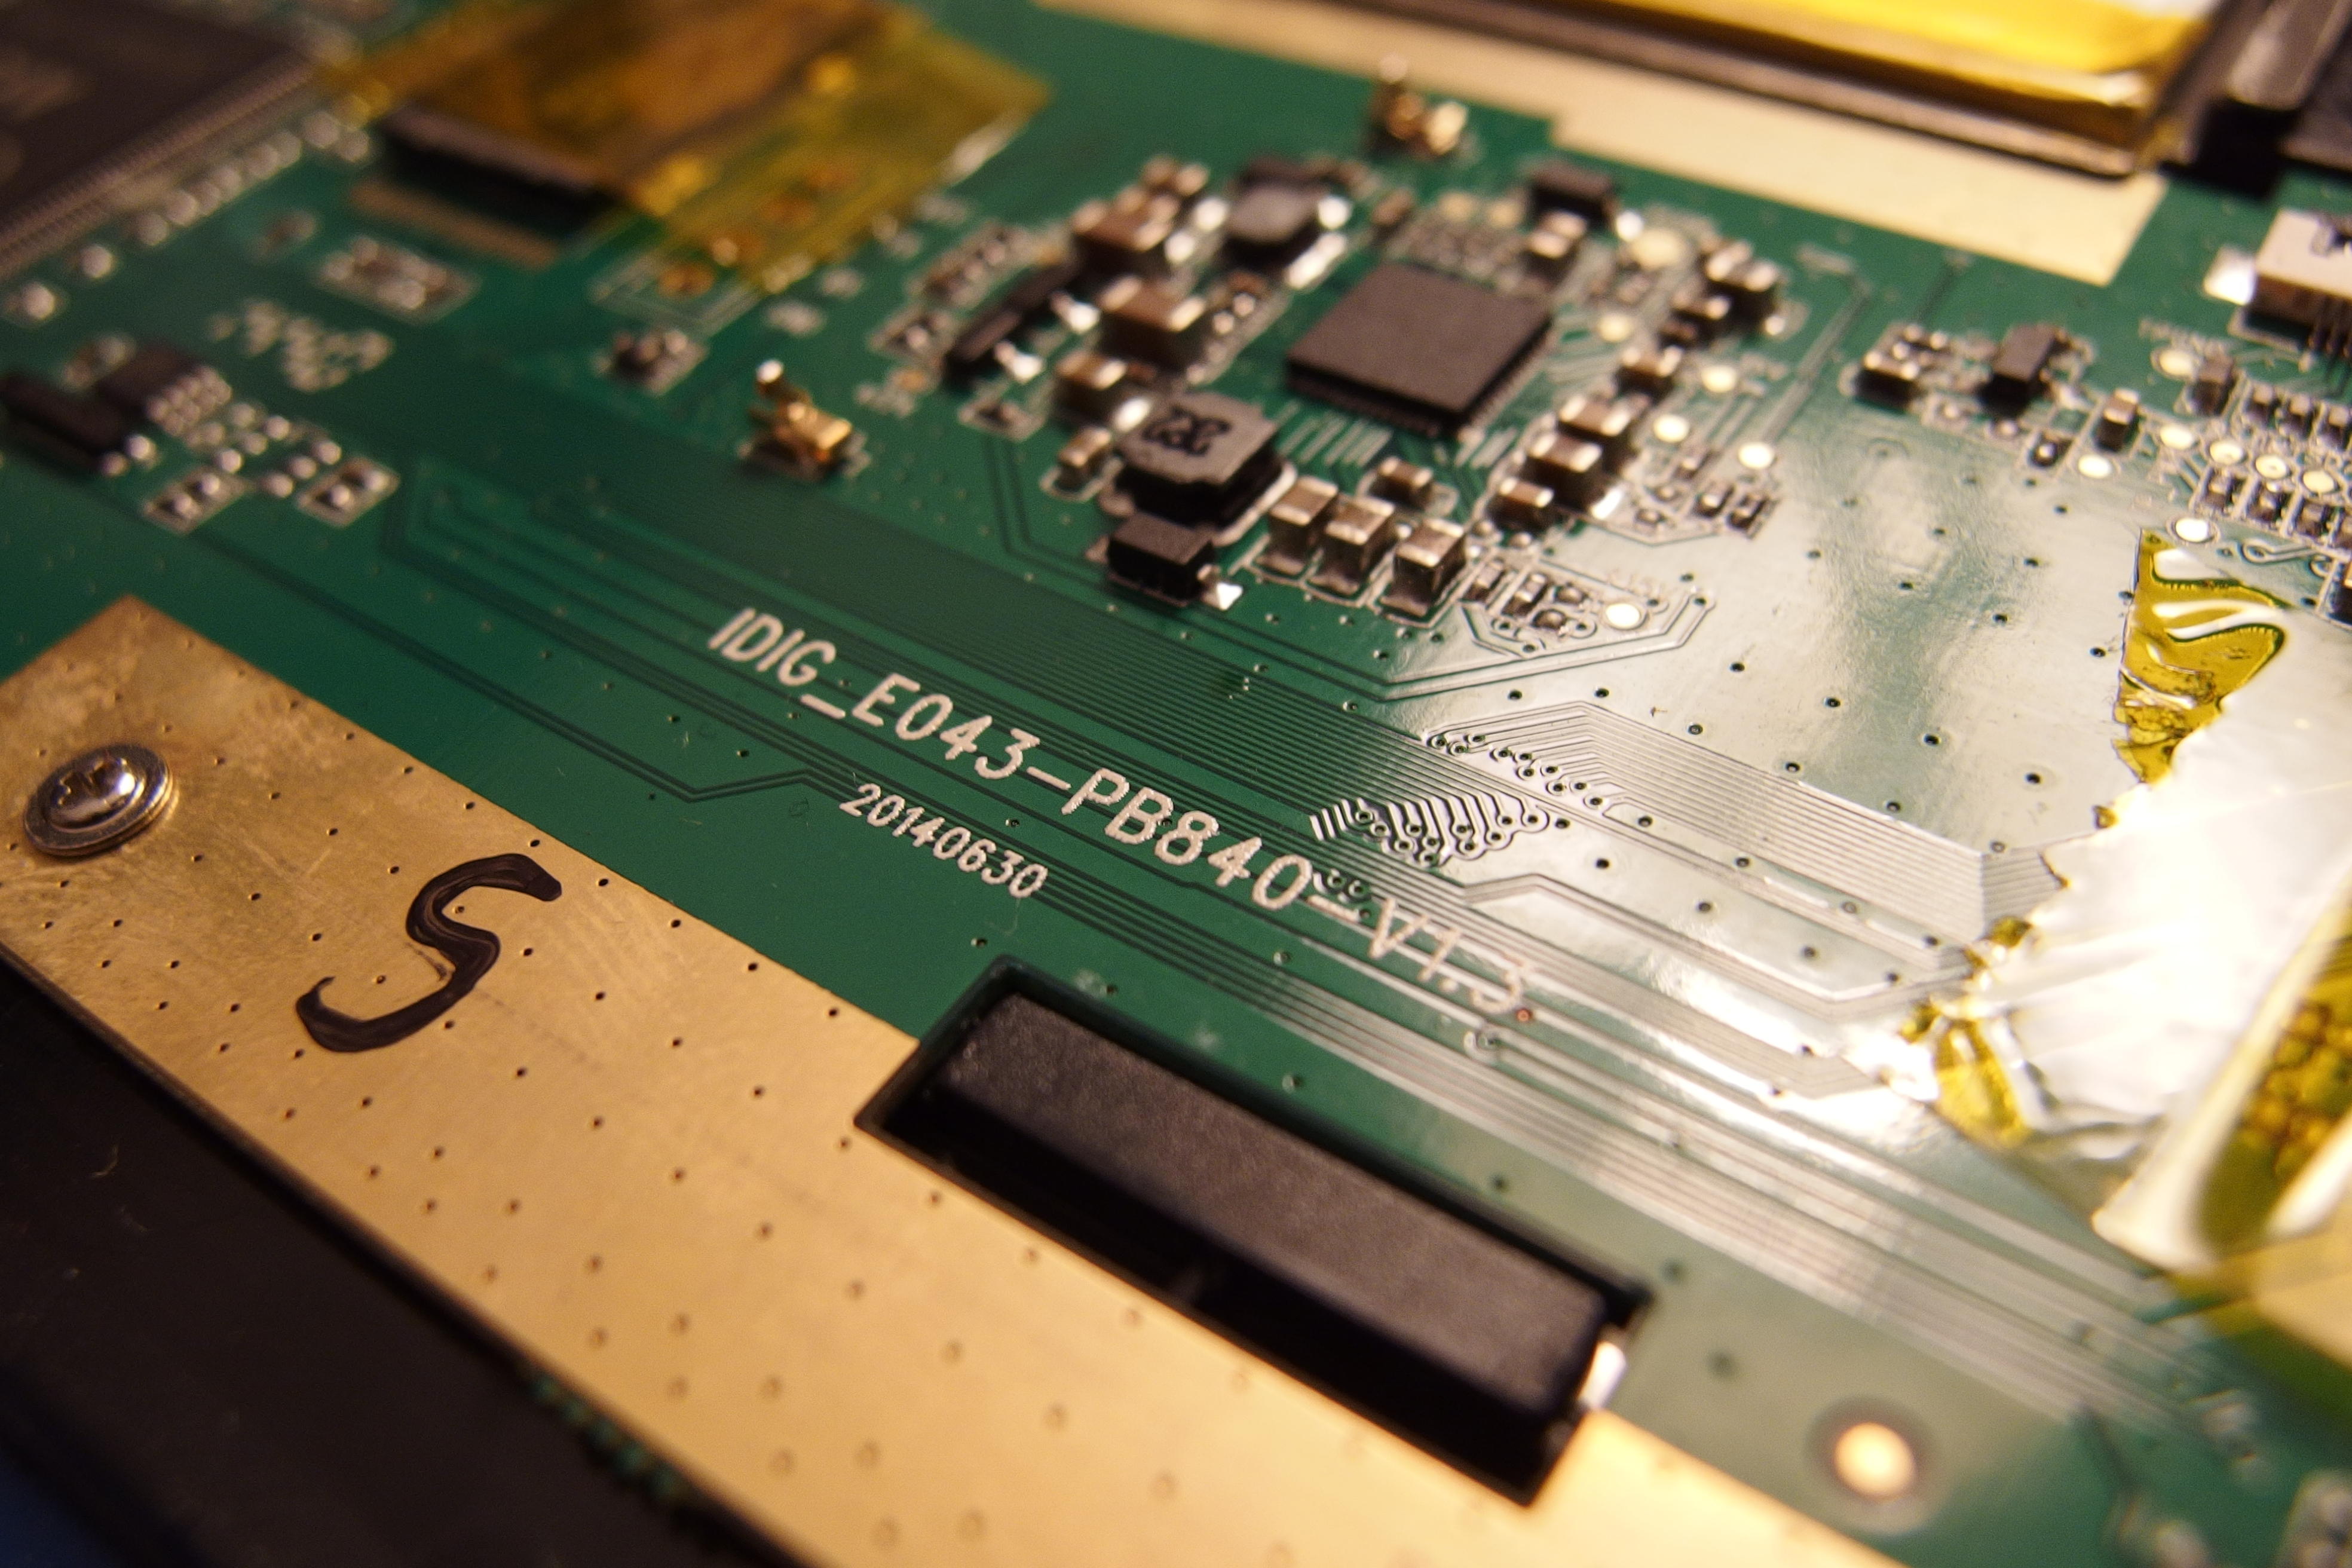
Also, my device got a note at manufacture time (I’m guessing QC but who knows?) and I have no idea what it says/means. If you have something, please tell me
Anyway. Of course, once I was done admiring the board, I wanted to dig into the OS. Since I had the “flash”, I could just dump the OS from there, take a look, and be done with it, but knowing my motivation if I just dumped it I would never have gotten around to take a look at it, so I decided to get a shell on the damn thing. Since there are serial headers on there, I popped out my USB<->serial cable and plugged it right in.
This thing listens at 115200 bauds, instead of (the more usual) 9600. So just
start screen /dev/ttyUSB0 115200 and it’s all good. Then boot the thing.
You’ll see a nice bootlog pass by, and then you’ll be stuck without any response
to inputs.
Here’s such a bootlog from my device (it also contains a suspend event and a shutdown event): html and text
Of course, that’s nice, but at some point we said we wanted to get a shell on
it. Well, worry not, because a manufacturer who misspells attached as
Atached can’t be that good on security. And well, of course,, pressing ^C
while the device is booting will interrupt the boot process and give us a nice,
cozy root shell that we can then use to do anything to the device… which we
pretty much already could do anyway since a good part of the system folders are
exposed through the USB mode. But let me enjoy my victory and take a look at the
way to enable an SSH server at boot, so that it becomes a little more
comfortable hacking on this thing:
html and
text
Once that’s done don’t forget to either drop your key into root’s trusted keys folder or to set root’s password, and you can now, uh, ssh to your e-reader. Why would you want to do that? WELL I DON’T KNOW YOU GO FIGURE IT OUT!
Anyway, that’s all I had for today. Oh and don’t worry, the e-reader still works, perfectly! I did say at the beginning that I was gonna use the right way to open it!